Winter Crafts For Kids
by Hyacynth Worth
Though we've had a relatively mild winter in Chicagoland area this season, the latest arctic blast and snowstorm have reignited a need for fun, easy indoor crafts. Here are a few we love as well as a few we'll soon be trying.
Coffee Filter Snowflakes
Easy and beautiful, winter snowflakes are not only fun to create but also become beautiful decorations for the windows.
Supplies:
- 10 Coffee Filters
- Colored Pencils work best
- Scissors
- Glue
- Glitter (if so desired)
- A large, washable tablecloth
Directions:
1. Secure your washable tablecloth in the art space, and give your little ones a few coffee filters. Ask them to begin by coloring the snowflakes and then adding dots small pin-head sized dots of glue on the filters.
2. Sprinkle glitter over the glue; gently shake the access off the filter flake
3. Dry for about 30 minutes.
4. Ask the kids to fold the coffee filters in half once, then again and once more.
5. Instruct older children to (help preschoolers) make little triangle cuts along the folds of the papers. Be sure to leave space in between cuts
6. Unfold, stick tape on the back and attach to the windows.
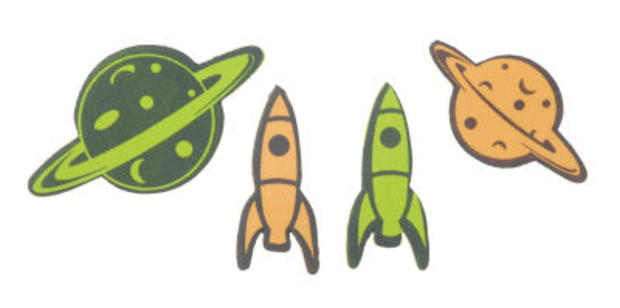
Sticker Creations
A household favorite for both adults and kids alike, sticker creations are fun ways to express creativity, explore natural groupings of things that belong together (animals in a zoo, stars and planets in the space, etc.) and promote fine motor skills. Best of all, it takes little planning and is an easy craft to execute for younger children while allowing for intricate details for older ones.
Supplies:
- Stickers like the Valentine's Day Creatology Foam Stickers or the Foamies Lime Orbit Stickers found at Michaels.
- A themed sticker set (animals for the zoo, sea creatures and plants for the ocean)
- Colored construction paper
- Washable markers
Directions:
1. Ask your little ones what kind of scene they would like to create. If needed, help them pick an appropriate construction paper color for the background.
2. Help littler ones make a scene by drawing with markers some basic landmarks (a barn if making a farm, waves if making an underwater ocean scene) and give older kids the freedom to make their scenes.
3. Preschoolers often love putting scenes together with parents or older siblings, deciding together where the lions, tigers and penguins should go in a zoo landscapes or how to best layout the planets and stars in outerspace scenes.

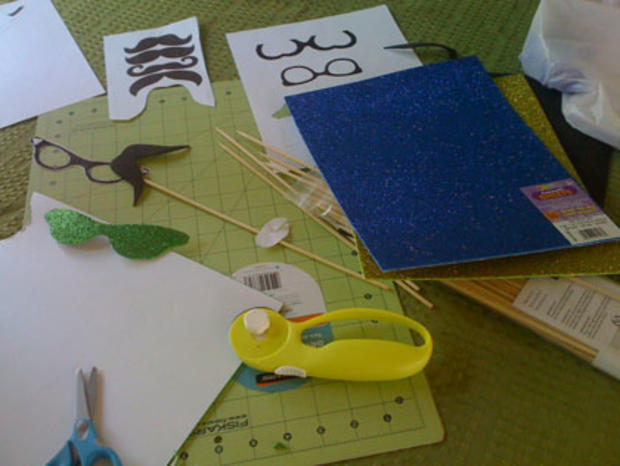
Photo Booth Props
Supplies:
- Several sheets of 2mm thick foam in various colors (we like sticky-backed sheets)
- Heavy duty tape
- grilling skewers or long popsicle sticks
- scissors
- exacto knife or sharp cutting blade / cutting board
- computer/printer to print templates or simple drawing skills
- pencil
Free Templates:
The Pretty Blog templates for bowties, lips and necklaces
Tiffany Kelley mustaches
Directions:
1. Draw templates of a few mustaches, glasses, lips and bowties or print a few designs you like
2. Cut the templates out.
3. Place the templates on the back of the foam and trace (I traced on the paper side because mine was sticky-sided on the back.)
4. Use scissors to cut out the shapes; use an exacto knife to edge out the smaller details on the foam.
5. Decorate
6. Cut the sharp edge of the grilling skewer off
7. Tape the skewer to the far left of right side of the design and securely tape the stick to the back of the prop
8. If you're using the sticky-backed foam only cut the backing off of the place where the skewer was attached. Leave the paper on the rest so the prop doesn't stick to all surfaces when not being used
9. Enjoy!
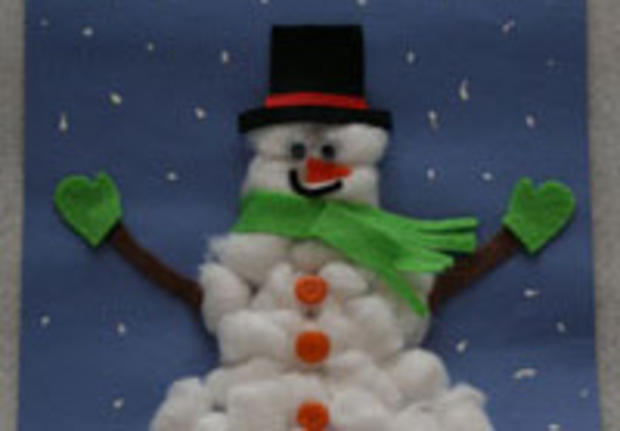
Cotton Ball Snow People
Cotton ball snow people are wonderful crafts to create because they can be made with items you may already have in the house. Imaginations can flourish during the creation as the finished product turns into simple yet cute decoration that's easily framed.
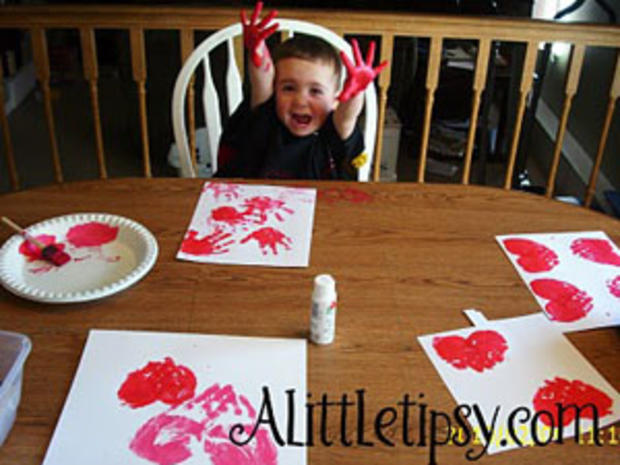
Handprint Hearts
As Valentine's Day approaches, handprint hearts are fun (also messy!) masterpieces to make into beautiful, sentimental gifts for grandparents or other loved ones. Be prepared, though, especially with younger children, to allow for an entire fingerpainting endeavor to erupt after the craft is finished!
Supplies:
- A smock or old clothes
- A large washable table cloth
- One 8 by 10 white card stock page per child
- Red, pink or purple washable, non-toxic finger paint
- One black-rimmed 8 by 10 picture frame per child
Directions:
1. Paint one hand red (or pink or purple)
2. With fingers close together, place hand in the middle of paper slightly angling the fingers toward so that the palm is making the top curve of ones side of the heart and the fingers make the pointed part of the heart.
3. Paint the other hand
4. Complete the heart shape on the paper
5. Add another heart with more hand prints from the same child or siblings if so desired
6. Let the hearts dry
7. Frame the hearts in their respective frames after the artist signs the paper, of course.
For pictures of the completed project, please visit A Little Tipsy.