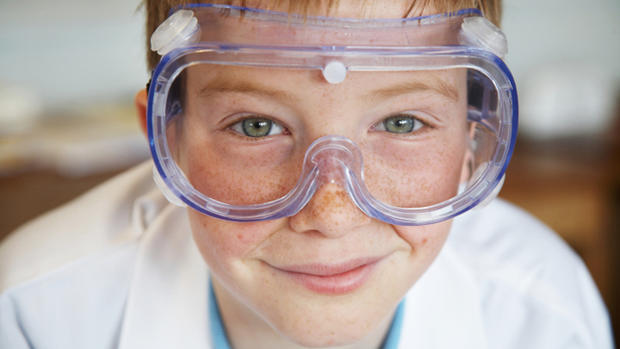
3 Science Experiments To Try Outdoors With Kids This Summer
Kids love any activity that involves making a big, giant mess. Really, who doesn’t, right? Now that summer is here, it’s a perfect time for kids to get outside, get some fresh air and indulge in some creative, messy fun that not only entertains, but also educates. Here’s a look at three science experiments that should provide oodles of outdoor fun.
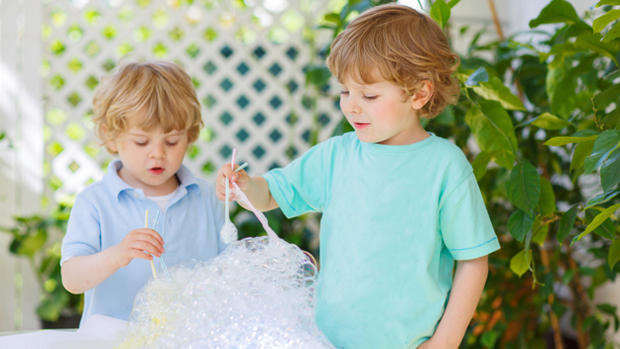
Colorful Bubble Snakes
Everyone loves blowing bubbles! This bubbly-fun twist uses common household items to make silly soapy versions of one of nature's slithering creatures. Here’s what you need:
For the bubble blower:
- A 16 or 20 ounce plastic water bottle
- An old sock
- Duct tape or a rubber band
- Scissors
- Food Coloring
For the bubble solution:
- Dish soap
- Water
- A shallow dish
Start by cutting the bottom off of the plastic bottle. (Adult supervision is needed for this step and an adult may want to do the cutting entirely for younger kids). Next, slip the sock over the cut end of the bottle. Use duct tape or a rubber band to hold the sock in place. Mix up your bubble solution by adding a small amount of water to some dish soap in a shallow dish. Finally, add some different colored drops of food coloring to the sock end.
When everything is ready, dip the sock end of the bottle in the bubble solution and blow on the bottle spout. You should see a growing, multicolored bubble snake streaming into the air followed by some giggles and squeals of delight.
The lesson: This experiment gives a great opportunity to talk to kids about how bubbles work. Bubbles are actually formed when the hydrogen atoms in one water molecule attracts to oxygen atoms in other molecules. When you blow air through the blower, it moves through the fabric and generates the bubbles. As they come out, the bubbles attach to each other.
Baggie Blast
There are a lot of different gases in the air around us. This neat experiment uses a plastic storage baggie and some mixed ingredients to illustrate the way carbon dioxide reacts when it is formed inside a small, sealed space. It should be done outside, because things can get messy when the bag explodes.
Materials
- ½ cup of vinegar
- A plastic Ziploc bag (sandwich sized)
- 4 heaping teaspoons baking soda
- A tissue
First, pour the vinegar into the baggie and zip it closed. Next, place the four teaspoons of baking soda into the center of an unfolded tissue. Fold the tissue into a little packet to keep the baking soda enclosed. Open the baggie far enough to slip the baking soda packet inside, then quickly zip it shut. Shake the baggie until it fizzes then set it on the table and wait for the blast. Note: You may want to stand back because the explosion may cause the contents to spray.
The lesson: When the baking soda combines with the vinegar, an acid-based reaction creates carbon dioxide. Carbon dioxide needs a lot of room to expand and therefore in this experiment, it doesn’t like to be confined. So as it continues to expand, the baggie is forced to “blast” open.
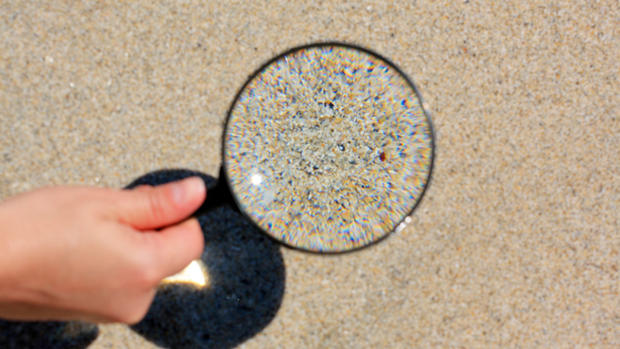
Sand Sense
Before you leave for your next trip to the beach, consider packing a few extra items to help your kids learn more about the loosely packed material that makes up the shoreline. At first glance, sand might all look the same. Closer inspection, however, reveals this is not the case. Here’s what you need to make sense out of sand:
Materials
- Sand (in as many types as you can find)
- Black paper and white paper
- A magnifying glass or microscope
- Several small Ziploc bags
- Scotch tape
- Kids’ scissors
- Vinegar
- Observation notebook and pen (optional)
- A small trowel or shovel
Collect different types of sand and place each type into a separate Ziploc bag. For instance, get some dry sand from the middle of the beach and some wet sand near the water. Cut the black and white paper in half, then tape one black and one white section together to form one whole black and white sheet. Sprinkle some sand from one of your collection baggies onto the black and white paper in a thin coat, where you can see individual grains.
Now, study the sand with a magnifying glass. Darker material will show up on the white paper and lighter material will show up on the black paper. Note the different sizes, colors and textures. Have your child record his observations in a notebook. Then, examine the next sand type and compare what you found. Add some vinegar to each of the samples. If any grains bubble after vinegar is added, this means they were once living things and could be bones, shells or coral.
The lesson: Your child should discover how sand is actually comprised of rocks, minerals and silicon dioxide. So, while sand may look like all one continuous color on the beach, weathering processes (like wind, rain, freezing and thawing) actually break down and chip away at the rocks and minerals over time to make smaller grains. You can also point out how the water added to wet sand helps it stick together and form; while dry sand is loose and runs through your fingers.
Lori Melton is a freelance writer. Her work can be found on Examiner.com.